
Attempting to switch WordPress themes sounds simple until you do it for the first time and something breaks. A widget disappears. A page looks nothing like it did an hour ago. Your carefully written posts are fine (WordPress always keeps your content), but everything around them is a different story.
The good news is that losing content when switching themes is largely a myth. Your posts, pages, images, and comments live in the WordPress database and have nothing to do with your theme. What you can lose, though, is everything your theme was responsible for displaying or storing, and that list is longer than most people expect.
This guide walks you through the whole process so you arrive on the other side with your content intact, your design sorted, and nothing broken.
What actually survives a theme switch
Before anything else, it helps to know what you’re working with. When you activate a new theme, WordPress keeps all of the following without touching them:
Your posts and pages, every image and media file you’ve uploaded, your categories and tags, your comments, your menus (the menu items themselves, not where they’re displayed), your plugins and their settings, and your SEO metadata if you’re using a plugin like Yoast or Rank Math.
What doesn’t automatically carry over is everything your old theme owned: widget placements, Customizer settings like colors and fonts, theme-specific shortcodes, custom CSS you added through the Customizer, and any layout or design options your old theme provided.
Step 1: Back up before you touch anything
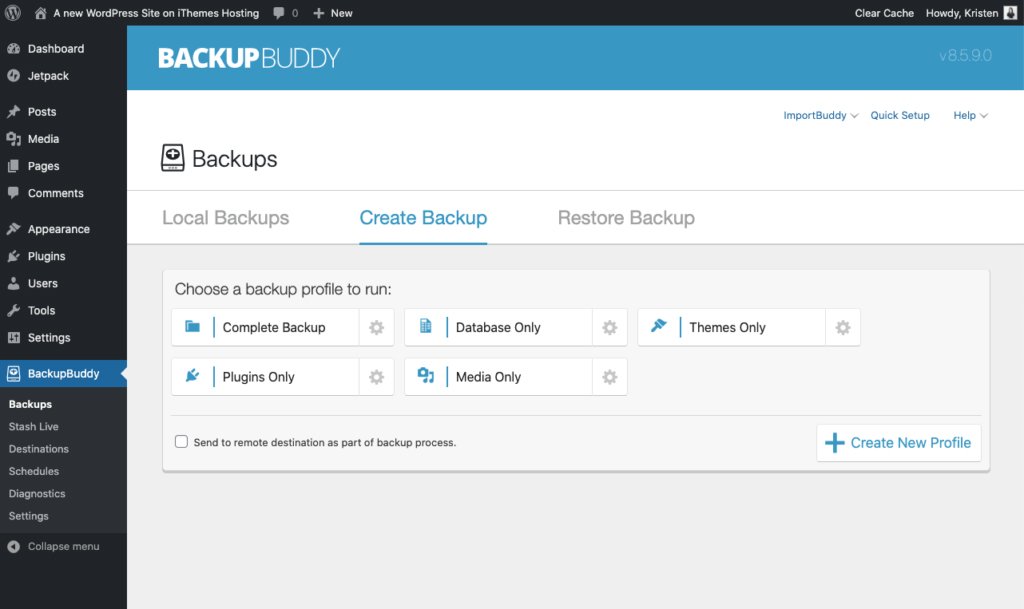
This is non-negotiable when attempting to switch your WordPress theme. Run a full backup: database and files, before you make any changes. If your host provides one-click backups, use it now. If you rely on a plugin like UpdraftPlus, run a fresh backup and confirm the files are saved somewhere off your server.
A backup takes five minutes. Rebuilding a broken site without one takes considerably longer.
Step 2: Write down what your current theme owns
This is the step most people skip, and it’s the reason things go wrong. Before switching, take ten minutes to document what your old theme is responsible for.
Open your Customizer and note down any custom CSS in the Additional CSS field. Screenshot your widget areas so you know what content goes where. Check your menus and note which menu is assigned to which location. And scan a few of your posts for any shortcodes your theme might have introduced; these are the ones that will break the moment the theme is deactivated, leaving raw text like [themebutton] scattered through your content.
Step 3: Test on staging before going live
If your host offers a staging environment, clone your live site there and do the switch first. This lets you see exactly what the new theme looks like with your real content: actual posts, actual menus, actual images, before any visitor sees it.
No staging? A local WordPress install using something like LocalWP is free, fast to set up, and does the same job. You work through all the issues locally, then repeat the process on your live site knowing exactly what to expect.
If you have to switch directly on your live site, enable a maintenance mode plugin first. It takes thirty seconds and means visitors see a clean holding page instead of your site mid-transition.
Step 4: Install the new theme without activating it
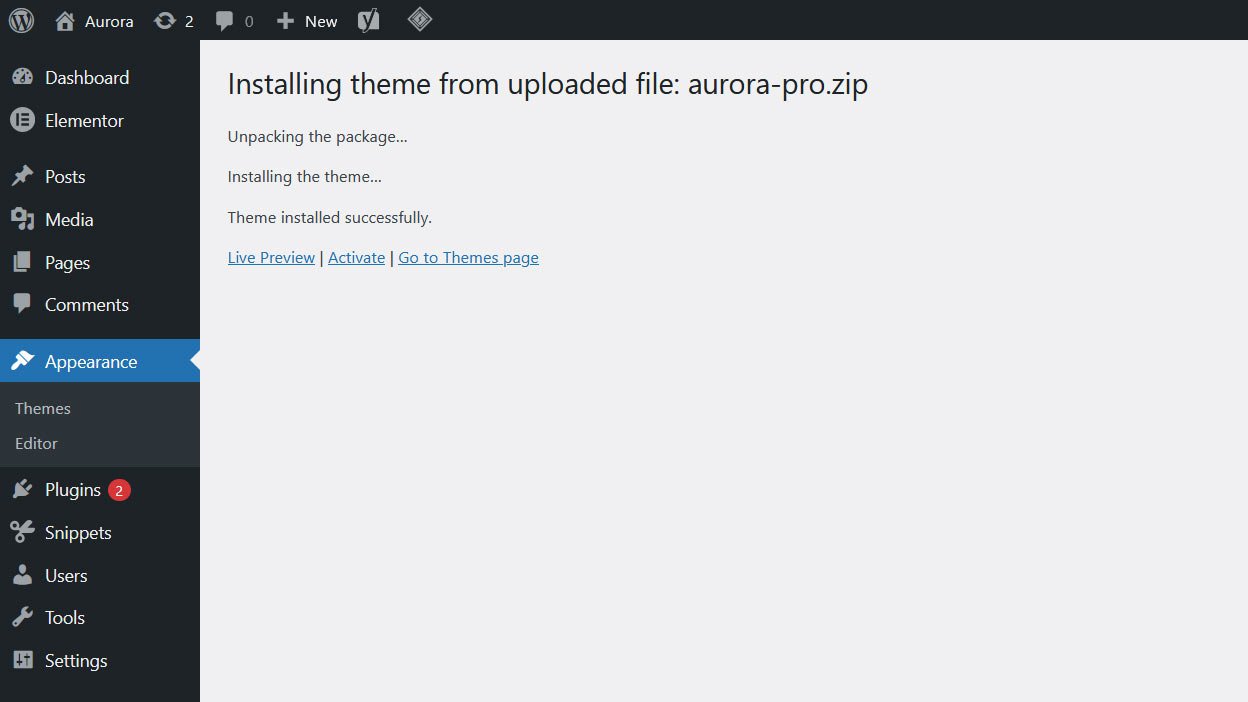
Go to Appearance, then Themes, then Add New. Upload the zip if it’s a premium theme, or search and install directly from the WordPress.org directory. Stop at Install. Don’t activate yet.
If your new theme comes with a child theme, install both now. You’ll activate the child theme, not the parent, which protects your customisations from being overwritten by future updates.
Step 5: Activate and work through the checklist
Now activate the new WordPress theme. Your site changes immediately, and that’s expected. Work through these in order:
Check your homepage first. Is the right layout showing? Are your posts appearing? Then check your navigation: go to Appearance, then Menus, and reassign your menus to the correct locations in the new theme, since location names vary between themes. Check your widget areas next and recreate anything that didn’t carry over. Open a few posts and look for broken shortcodes or layout issues. Check your footer. Then paste any custom CSS that still applies into the new theme’s Additional CSS field, but review it first as some of it may no longer be needed or may conflict with the new theme’s own styles.
Step 6: Confirm your SEO is untouched
Your theme switch shouldn’t affect your search rankings if you’re running Yoast, Rank Math, or a similar plugin, since your meta titles, descriptions, and sitemaps live in the plugin rather than the theme. But it’s worth a quick check.
Go to Settings, then Permalinks, and click Save without changing anything. This flushes the rewrite rules and prevents any potential redirect issues. Then check a few key pages in Google Search Console’s URL Inspection tool to confirm they’re still crawlable.
Step 7: Check mobile after you change the theme
Don’t skip this. Open your site on an actual phone, not just a browser’s responsive preview. Tap through a few pages, open your navigation, scroll through a post. Mobile issues: overlapping elements, menus that won’t open, images that overflow, are easy to miss on desktop and the first thing your readers will hit after a wrong WordPress theme switch.
Step 8: Go live and keep an eye on things
If you tested on staging, the live WordPress theme switch is now a repeat of a process you’ve already worked through. Turn off maintenance mode, do a final check, and you’re done changing your WordPress theme.
Watch your analytics for the next day or two. A sudden spike in bounce rate or a drop in time on page usually means something’s broken that you missed. And check Google Search Console over the following week for any new crawl errors.
Changing WordPress themes: a word about page builders
If your old theme was built around a page builder like Elementor or Divi, switching your WordPress theme needs more monitoring. Layouts built inside the page builder may not render correctly in a new theme that doesn’t support it. In that case, affected pages need to be rebuilt manually.
This is one of the strongest reasons to choose themes that work through the native WordPress Customizer rather than a page builder. When your design is handled through Customizer controls, your content stays completely separate from your styling. Switch themes, and your posts and pages come with you exactly as they were; only the presentation changes.
What to remember when trying to switch WordPress themes
Your content is safe. What needs attention is everything your theme was responsible for: widgets, menus, Customizer settings, and custom CSS. Back up, document, stage, activate, and triage, and you’ll find the whole process to switch your wordpress theme is far less dramatic than the horror stories suggest.
If you’re looking for a theme worth switching to, Aurora is built around the WordPress Customizer with no page builder dependency. That means your switch in is clean, and if you ever switch out, your content leaves just as cleanly. Eight header styles, five homepage layouts, ten single post designs, and full layout control from the Customizer. One-time payment, no subscription.