

This checklist covers everything worth setting up before you start publishing. Work through it in order; each step builds on the previous one.
1. Activate Your License
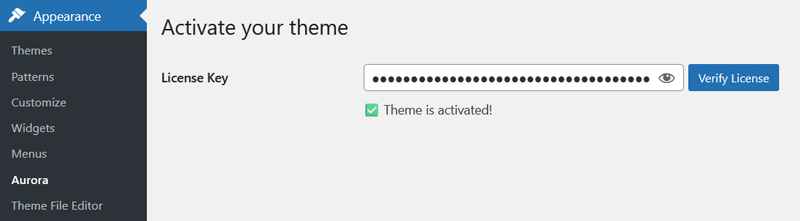
Go to Appearance → Aurora and enter your license key. Without this, all pages load the Default layout regardless of your Customizer selections.
2. Assign a Primary Menu
Go to Appearance → Menus, create or select a menu, and assign it to the Primary Menu location. Aurora shows an admin notice on the front end until a menu is assigned.
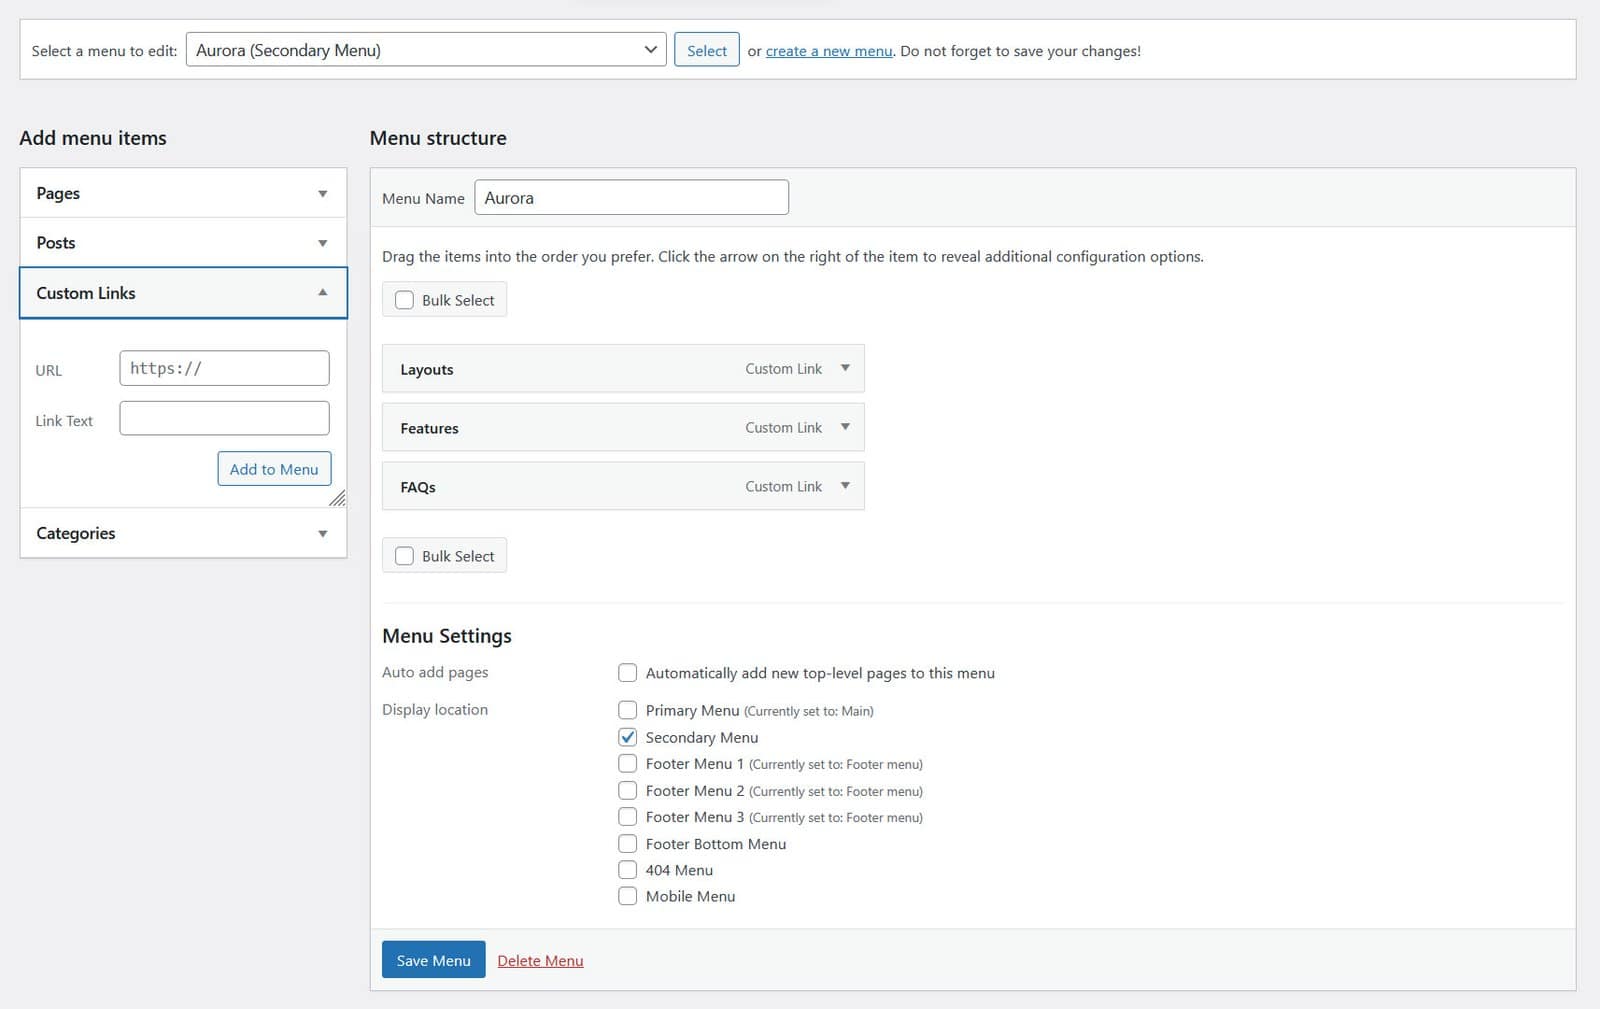
Aurora also supports a Mobile Menu location. If you want a separate navigation for mobile devices, create a second menu and assign it there.
3. Upload Your Logo
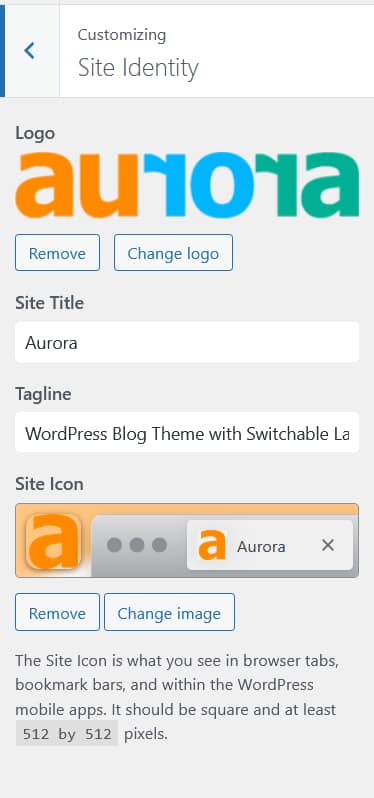
Go to Appearance → Customize → Site Identity and upload your logo. Set your site title and tagline here too. Aurora uses these as fallbacks when no logo image is set.
4. Pick Your Header Layout
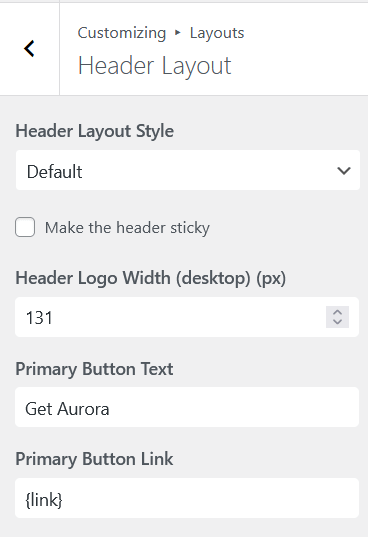
Go to Customize → Layouts → Header Layout and choose from the 8 available designs. The live preview updates as you switch.
5. Pick Your Homepage Layout
Go to Customize → Layouts → Homepage Style and select a layout. Then click on the pencils above each section to configure what posts the section pulls from.
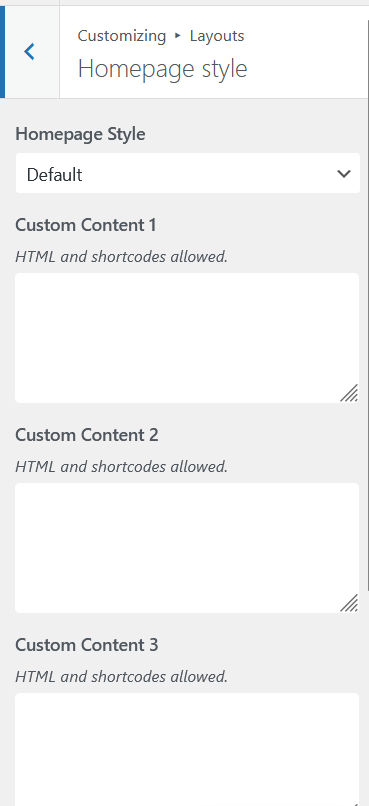
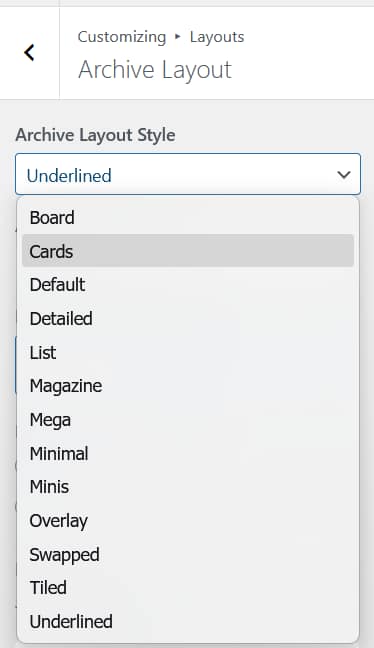
6. Pick Your Archive and Single Post Layouts
Go to Customize → Layouts → Archive Layout and Customize → Layouts → Single Post Layout and select templates for each. These two pages are where most of your readers will spend their time.
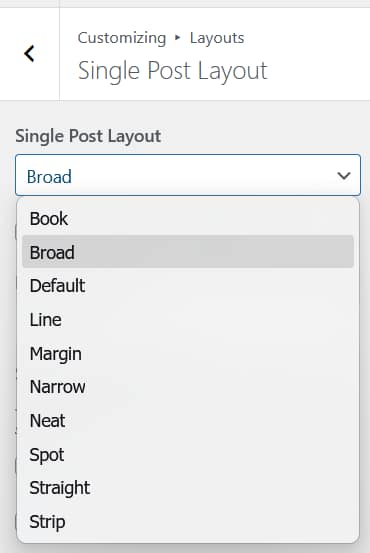
7. Pick Your Footer Layout
Go to Customize → Layouts → Footer Layout. While here, fill in your footer bio text, configure footer menu columns, and set your footer logo if you want it different from the header logo.
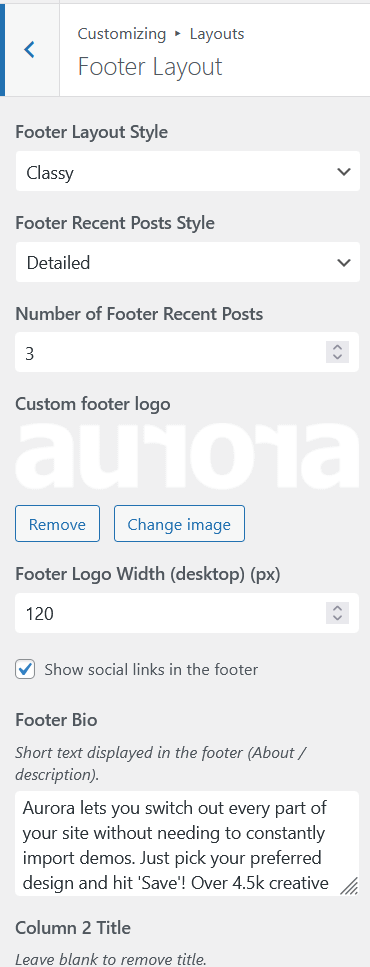
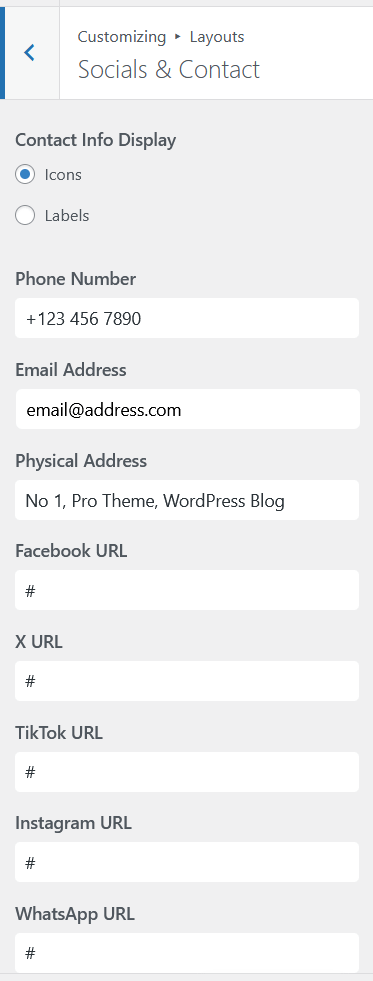
8. Add Your Social Links
Go to Customize → Socials & Contact and enter your social media profile URLs. These appear automatically in any header or footer that calls for them based on your active layouts.
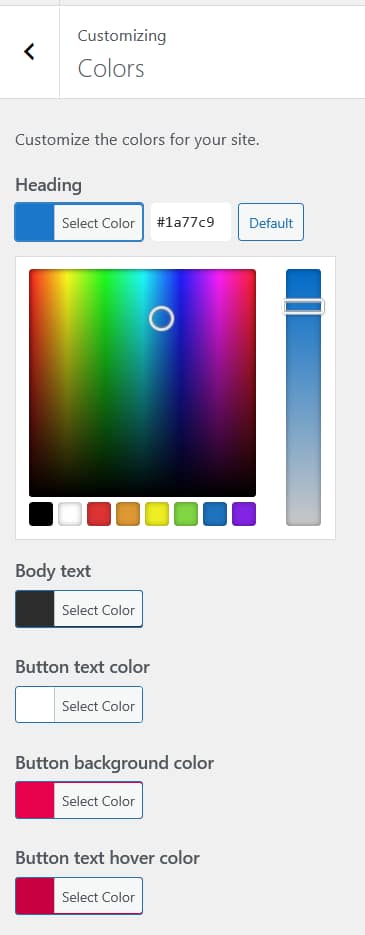
9. Set Your Brand Colors
Go to Customize → Colors. At minimum, set your link color and button background color. These two values establish your primary brand accent across the entire site.
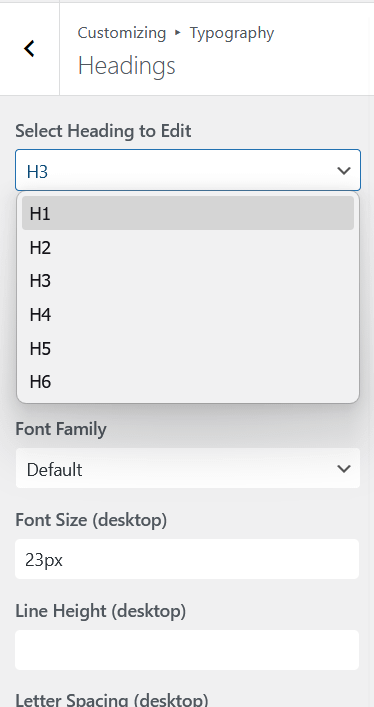
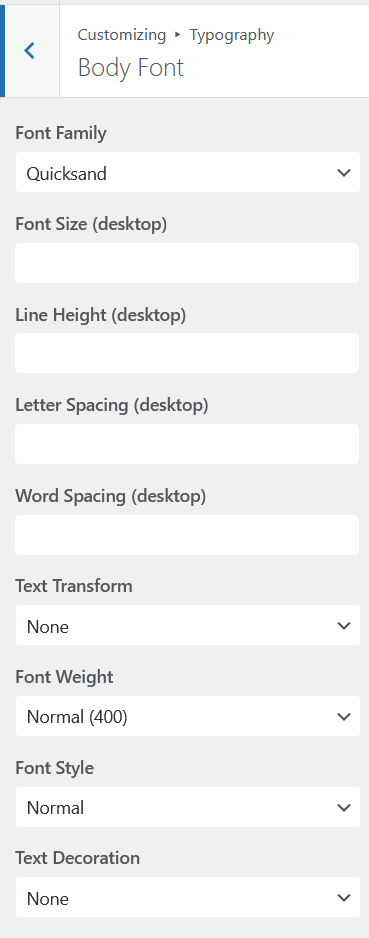
10. Set Your Fonts
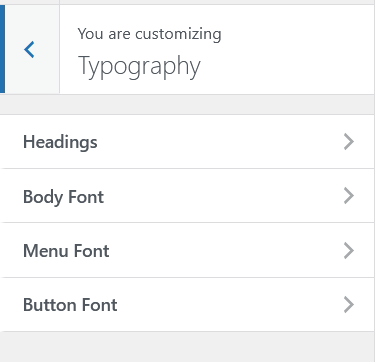
Go to Customize → Typography and set your body font. If your brand uses a specific heading font, set that too. Aurora pulls from Google Fonts; search by name in the font family field.
11. Configure Your 404 Page
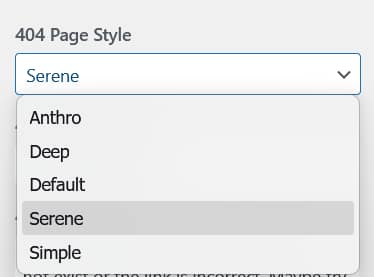
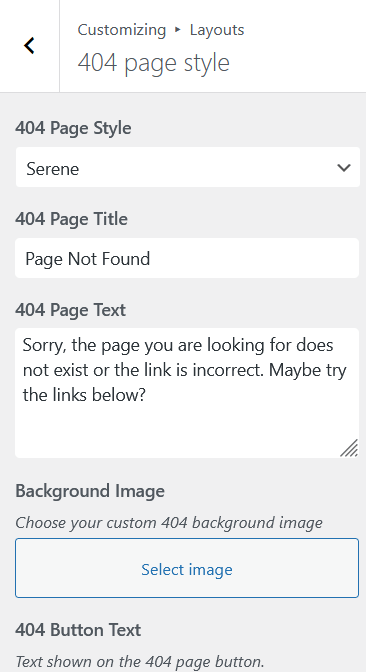
Go to Customize → Layouts → 404 Page Style. Set a custom title, message, and assign a navigation menu so visitors who land on a missing page have somewhere to go. You can also add a dedicated button.
12. Set Your Footer Menus
If your active footer layout includes menu columns, go to Appearance → Menus and assign menus to the Footer Menu 1, Footer Menu 2, Footer Menu 3, and Footer Bottom locations.
13. Add a Newsletter (Optional)
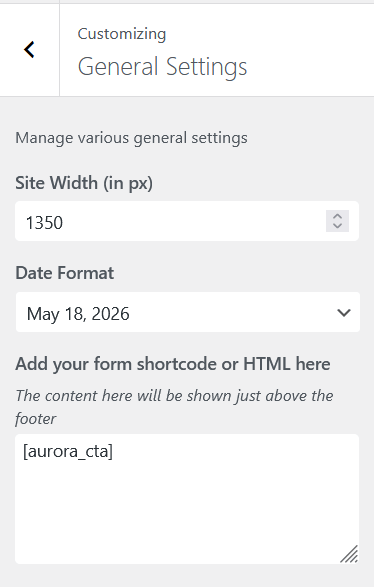
If you have a newsletter provider, go to Customize → General Settings and paste your embed code. Aurora renders it as a full-width section above every footer automatically.
14. Publish
Click Publish in the top left of the Customizer. All your changes go live at once.
Once this list is complete, your site is ready to publish content. Everything else, including fine-tuning section styles, adjusting typography per element, and configuring author page layouts, can be done gradually as you settle into the theme.
While in General Settings, you can also set your preferred date format and add a newsletter section above your footer.