

Aurora registers four footer menu locations. Three correspond to the navigation columns in the main footer area, and one controls the link row in the footer bottom bar. These menus work across all footer layouts that include navigation columns.
Footer Menu Locations
| Location | Where It Appears |
|---|---|
| Footer Menu 1 | First navigation column in the footer |
| Footer Menu 2 | Second navigation column in the footer |
| Footer Menu 3 | Third navigation column in the footer |
| Footer Bottom Menu | Link row in the bottom bar below the main footer |
How to Assign a Footer Menu
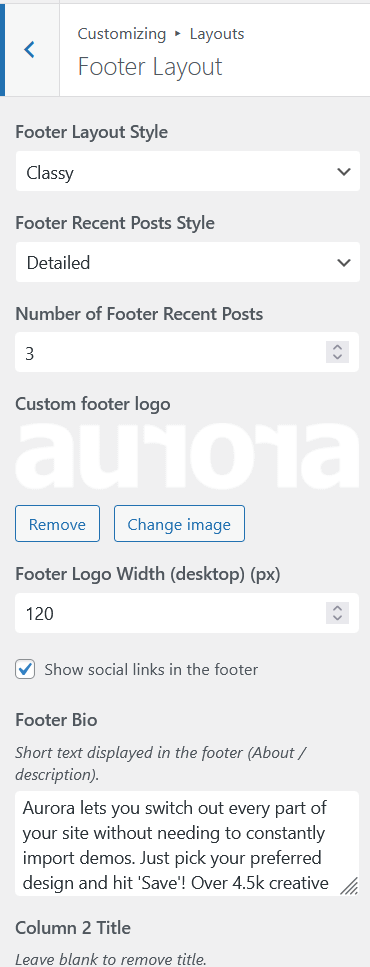
- Go to Appearance → Menus.
- Select an existing menu or click Create a new menu.
- Add the pages, categories, or custom links you want in the column.
- Under Menu Settings → Display location, check the footer location you want to assign it to.
- Click Save Menu.
Repeat for each footer column you want to populate.
Footer Column Titles
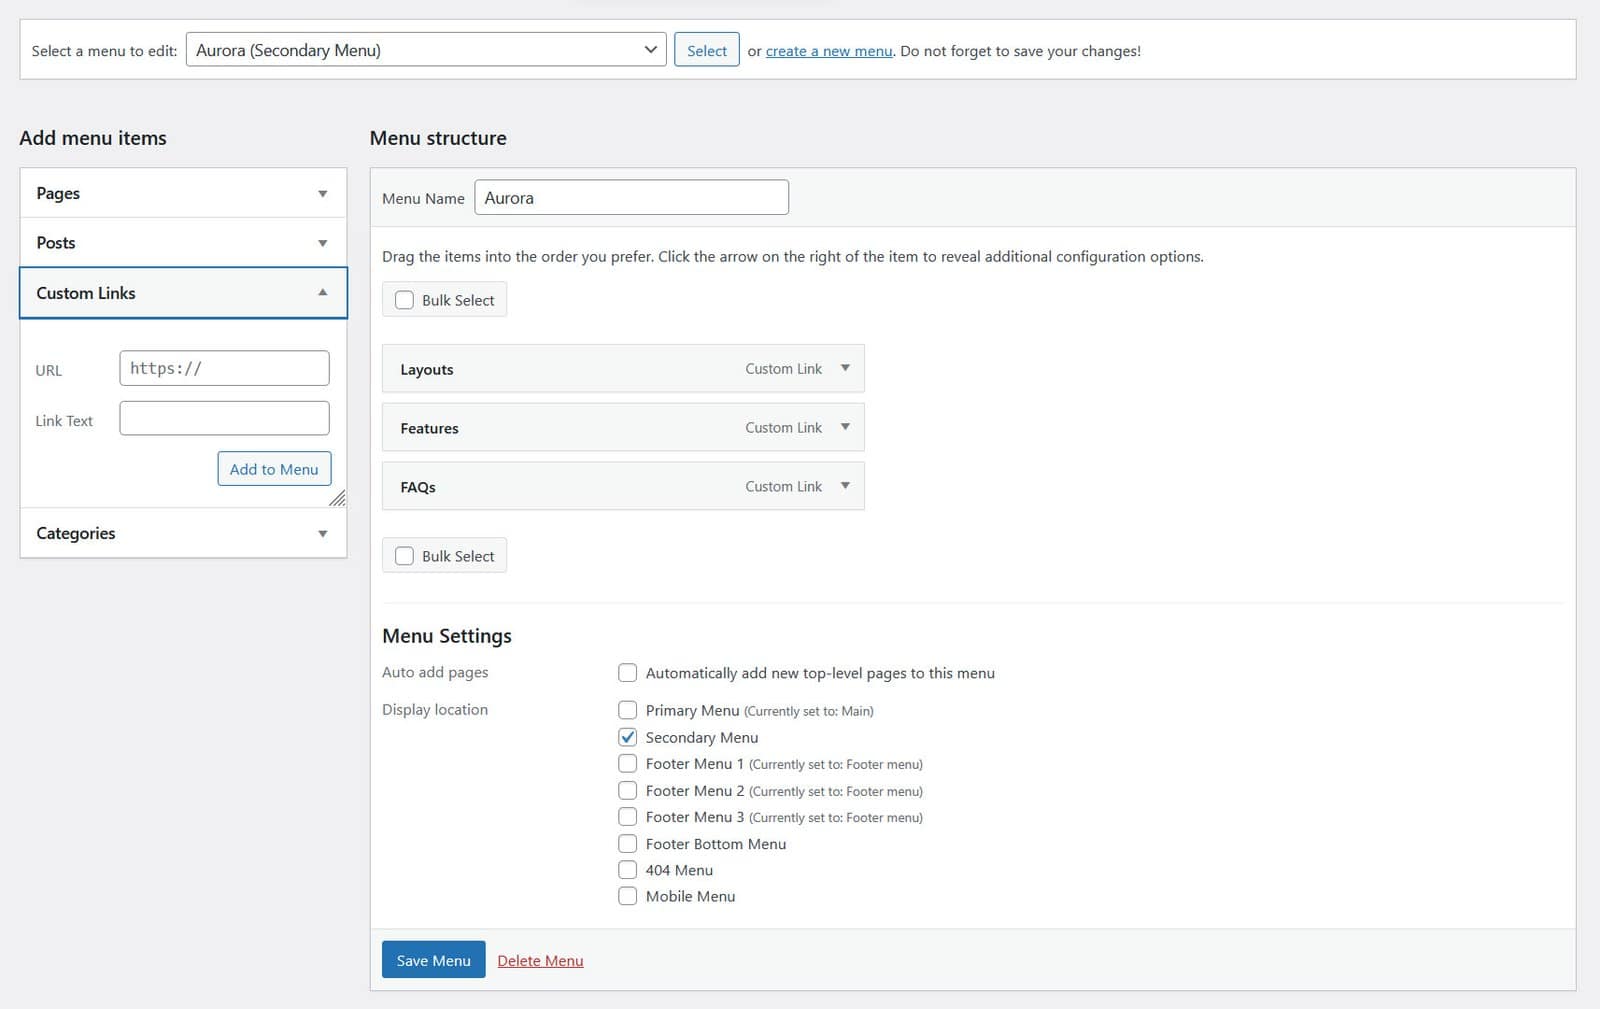
Each footer menu column has a configurable heading displayed above the links. To set column titles:
- Go to Customize → Layouts → Footer Layout.
- Find Footer Column 1 Title, Footer Column 2 Title, and Footer Column 3 Title.
- Enter your preferred headings, for example: “Pages”, “Categories”, “Resources”.
Footer Bottom Menu
The bottom bar runs below the main footer columns and typically holds legal links: Privacy Policy, Terms of Use, and similar. Assign a menu to the Footer Bottom Menu location the same way as the column menus above.
The bottom bar also displays your copyright text on the opposite side. Set it under Customize → Layouts → Footer Layout → Copyright Text.
What Happens If No Menu Is Assigned
If no menu is assigned to a footer location, the column still occupies its position in the layout but renders without links. Even an empty column title leaves the space in place. Assign menus to all three column locations for the fullest footer presentation.