

Last updated:
Upgrading from the trial to a paid license is a straightforward three-step process. Your Customizer settings (layouts, colors, fonts, menus) carry over automatically. Nothing needs to be reconfigured.
Step 1: Purchase a License
- Go to aurora.lystingz.com and click Get Aurora.
- Choose between the Standard License (one site) or the Extended License (unlimited sites).
- Complete the checkout. Your license key and pro download link will be in your confirmation email immediately.
Step 2: Install the Pro Theme File
The pro version ships as a separate ZIP file. You need to install it to complete the upgrade.
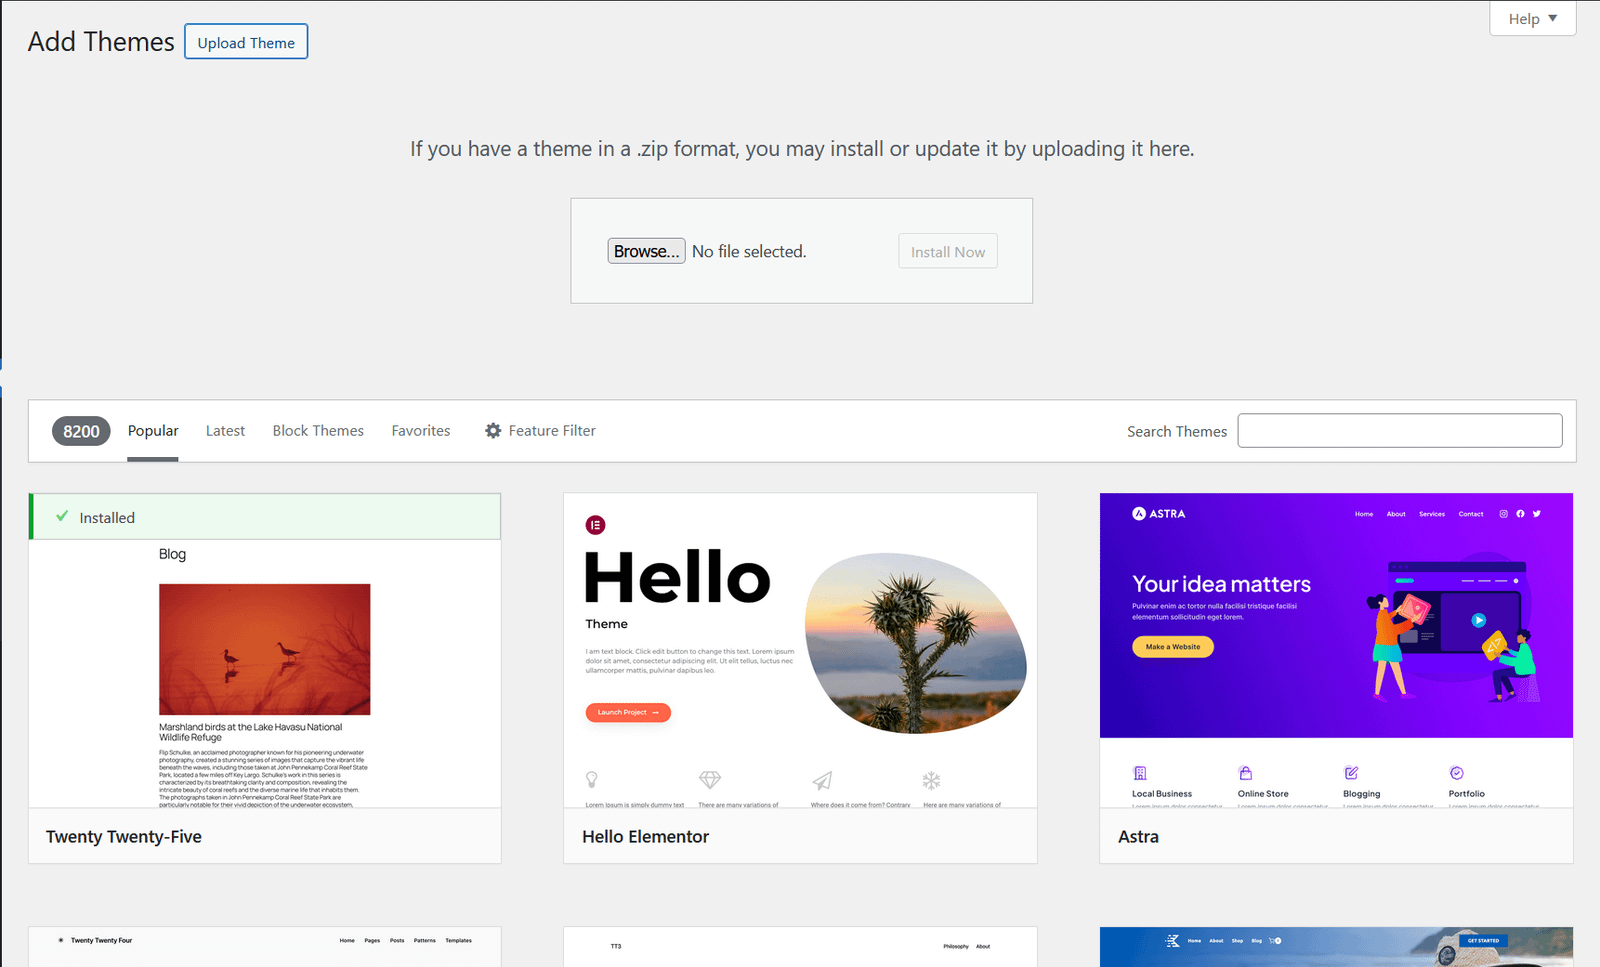
- Download the Aurora Pro zip from your confirmation email.
- Install via the WordPress Dashboard. Go to Appearance → Themes → Add New → Upload Theme.
- Select the pro ZIP file and click Install Now.
- Click Activate.
All your Customizer settings carry over automatically. No layouts, colors, or fonts need to be reconfigured.
Your Customizer settings carry over automatically. If you want to verify everything looks right before switching, consider testing on a staging site first.
Step 3: Activate Your License
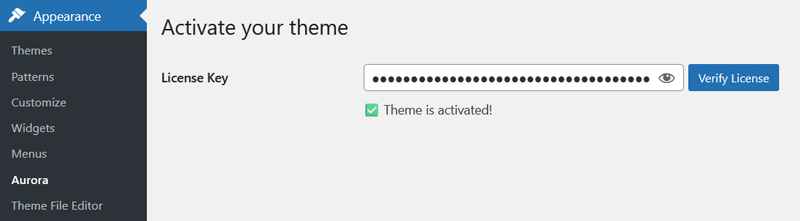
- Go to Appearance → Aurora.
- Paste your license key into the field.
- Click Verify License.
- The status should update to Active.
What Changes After Upgrading
- All layout templates remain accessible permanently. They will no longer revert to Default after 30 days
- You gain access to future theme updates delivered through the standard WordPress update mechanism
- You will be able to use Nova and other supported Aurora addons
Standard vs Extended License
| Standard | Extended | |
|---|---|---|
| Number of sites | 1 | Unlimited |
| All layouts included | Yes | Yes |
| Free updates | Yes | Yes |
| One-time payment | Yes | Yes |