

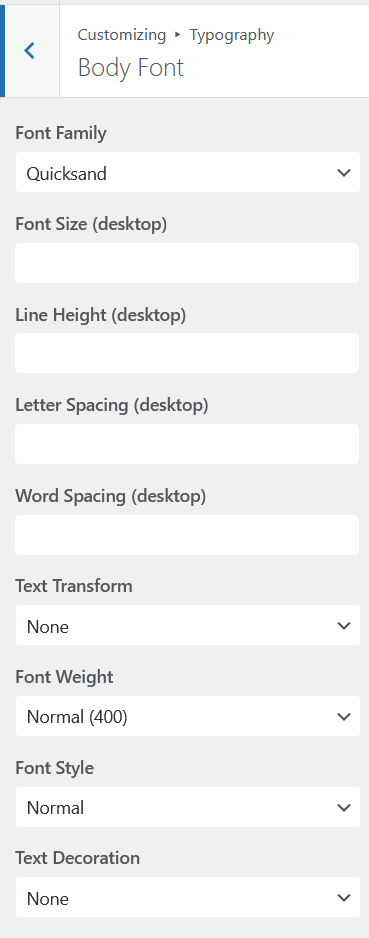
Aurora’s typography system lets you set fonts for body text, headings, menus, and buttons from the Customizer using the Google Fonts library. But if you want to use a font that is not on Google Fonts, such as a purchased typeface, a brand font, or a self-hosted open-source font, you can do that too with a small amount of CSS in Additional CSS.
Step 1: Upload Your Font Files
Font files need to be accessible via a URL. The cleanest way is to upload them to your WordPress media library or directly to your server.
To upload via the media library:
- Go to Media → Add New.
- Upload your font files (.woff2 is preferred, .woff as a fallback).
- Click the uploaded file and copy the file URL from the attachment details panel.
Step 2: Declare the Font with @font-face
Go to Appearance → Customize → Additional CSS and add a @font-face declaration using your uploaded font URLs:
@font-face{
    font-family: 'MyFont';
    src: url('https://yourdomain.com/wp-content/uploads/your-font.woff2') format('woff2'),
         url('https://yourdomain.com/wp-content/uploads/your-font.woff') format('woff');
    font-weight: normal;
    font-style: normal;
    font-display: swap;
 }
Replace MyFont with whatever name you want to reference the font by, and replace the URLs with the actual URLs from your media library.
If your font has multiple weights or styles, declare each one separately with the appropriate font-weight and font-style values:
@font-face{
    font-family: 'MyFont';
    src: url('https://yourdomain.com/wp-content/uploads/your-font-bold.woff2') format('woff2');
    font-weight: 700;
    font-style: normal;
    font-display: swap;
 }
Step 3: Apply the Font Using Aurora’s CSS Variables
Once the font is declared, apply it by overriding Aurora’s font family variables on :root. This plugs your custom font into Aurora’s existing typography system so it applies everywhere the variable is used:
:root {
    --body-font-family: 'MyFont', sans-serif;
}

/* For headings, set the H1 family. Lower levels cascade unless overridden. */
:root {
    --h1-font-family: 'MyFont', serif;
}

/* Or just for the menu */
:root {
    --menu-font-family: 'MyFont', sans-serif;
}
See the full CSS variable reference for all available font variables including buttons and individual heading levels.
Full Example
/* 1. Declare the font */
@font-face{
    font-family: 'Satoshi';
    src: url('https://yourdomain.com/wp-content/uploads/satoshi-regular.woff2') format('woff2');
    font-weight: 400;
    font-style: normal;
    font-display: swap;
 }

@font-face{
    font-family: 'Satoshi';
    src: url('https://yourdomain.com/wp-content/uploads/satoshi-bold.woff2') format('woff2');
    font-weight: 700;
    font-style: normal;
    font-display: swap;
 }

/* 2. Apply via Aurora's variables */
:root {
    --body-font-family: 'Satoshi', sans-serif;
    --h1-font-family: 'Satoshi', sans-serif;
}
Performance Note
Self-hosted fonts load from your own server rather than Google’s CDN, which eliminates the external request to Google and can improve privacy compliance (relevant if your audience is in the EU). The font-display: swap declaration ensures text remains visible while the font loads rather than showing a flash of invisible text.
If you are using a child theme, you can also enqueue your font files there instead of relying on Additional CSS for the @font-face declarations.