

Aurora displays your logo in both the header and footer. You upload it once and control its display size independently for desktop, tablet, and mobile.
How to Upload Your Logo
- Go to Appearance → Customize.
- Open Site Identity.
- Click Select logo.
- Upload your logo image or select one from the media library.
- Click Select to confirm.
- Click Publish.
Aurora displays the logo image in the header automatically. The footer uses the same logo unless you configure a separate one.
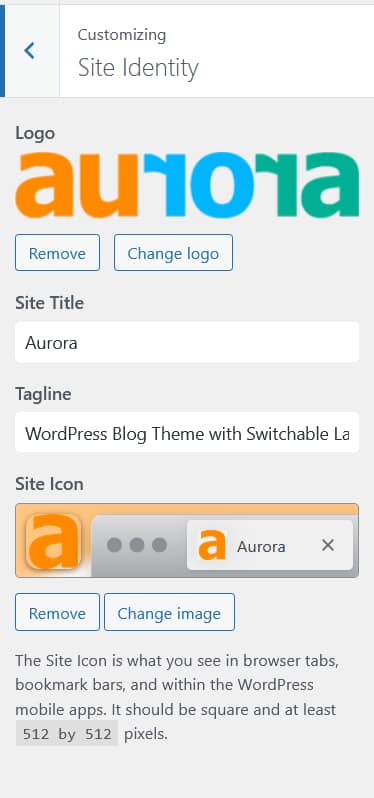
Logo Width: Desktop, Tablet, and Mobile
Aurora gives you independent pixel width controls for your logo on desktop, tablet, and mobile screens. This lets you display a larger logo on desktop and scale it down on smaller devices without cropping or distorting the image.
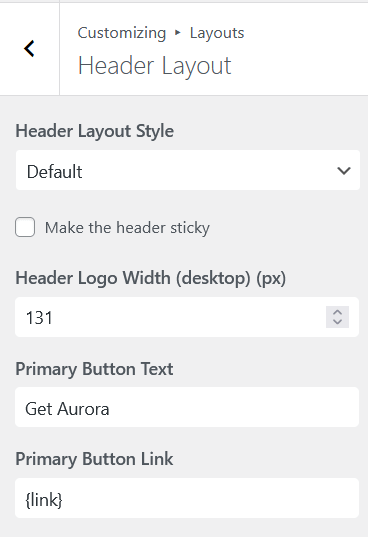
To set responsive widths for the header:
- Go to Customize → Layouts → Header Layout.
- Find Logo Width.
- Enter your preferred pixel values.
- Use the device preview toggle at the bottom of the Customizer to check each breakpoint.
- Adjust the logo width setting for that breakpoint.
Site Title as Fallback
If no logo image is uploaded, Aurora displays your site title as text in the header. The site title is set under Customize → Site Identity → Site Title. This is a useful fallback during setup and for sites that prefer a text-based logo.
Footer Logo
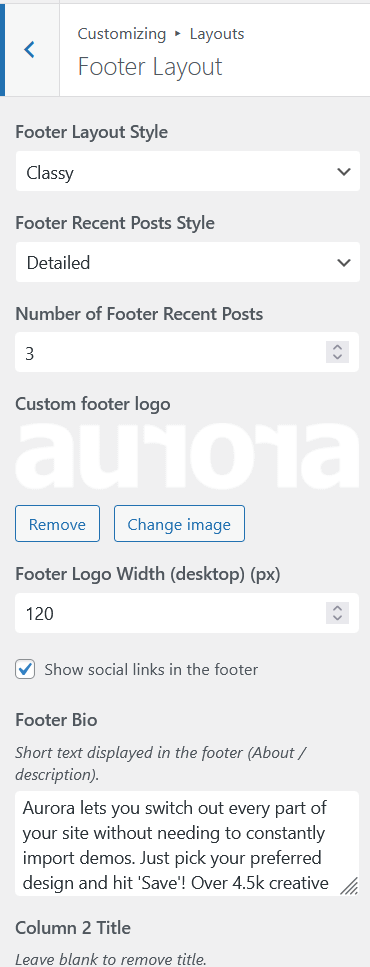
The footer uses the same logo as the header by default, but you can set a separate footer logo under Customize → Layouts → Footer Layout. This is handy if you prefer an alternate version of your logo for the footer. A dedicated width setting lets you size it to fit.
Logo File Recommendations
- Use a PNG with a transparent background so the logo works on any header background color
- Upload at 2x the maximum display width for sharp rendering on high-density (Retina) screens. For example, if your logo displays at 200px wide, upload a 400px wide image
- SVG files are also supported and scale perfectly at any size without needing multiple resolutions